
FlutterでFirebaseを利用するための初期設定をやってみましょう。Firebaseは、Google が提供するクラウドサービスで、モバイルおよびWebアプリケーション開発のためのバックエンドプラットフォームです。サーバーサイドをゼロから構築する必要がなくFlutterなどのアプリケーションやフロントエンドから認証機能、データベースなどのバックエンド機能を容易に利用することができます。そして無料枠があるため、個人開発でも気軽に利用できるサービスとなります。

Firebaseを利用するには、FlutterプロジェクトにFirebaseに接続するプラグイン、Firebase CLI、FlutterFire CLIのコマンドラインツールをインストールする必要があります。
- Firebaseで、Flutterから接続する新規プロジェクトを作成する。
- Flutterプロジェクトに、Firebase Core プラグインをインストールする。
- FlutterからFirebaseに接続するために、設定ファイルを自動生成するFlutterFire CLIをインストールする。
- Firebaseプロジェクトの管理・操作などを行うFirebase CLIをインストールする。
- dartコードの修正、依存性の修正作業を行う。
この記事における開発環境と動作対象OS・バージョンを示します。
| 開発環境 | Apple M2 macOS 13.4.1 |
| IDE | Android Studio Flamingo |
| Flutter | 3.10.5 |
| Xcode | 14.3.1 |
| 動作対象 | iOS12以上、Android OS 6.0以上 |
Firebaseの動作環境(2023.8.13時点)は、iOS 11、macOS 10.13、Android 4.4(APIレベル19)です。また、Firebaseアップデートにより最小バージョンが上がる可能性があるため、アップデートができなくなるリスクを防ぐためにもバージョン設定は余裕を持たせた方が良いです。
最新の動作環境などの情報は、Firebase Android SDK リリースノートを参照してください。
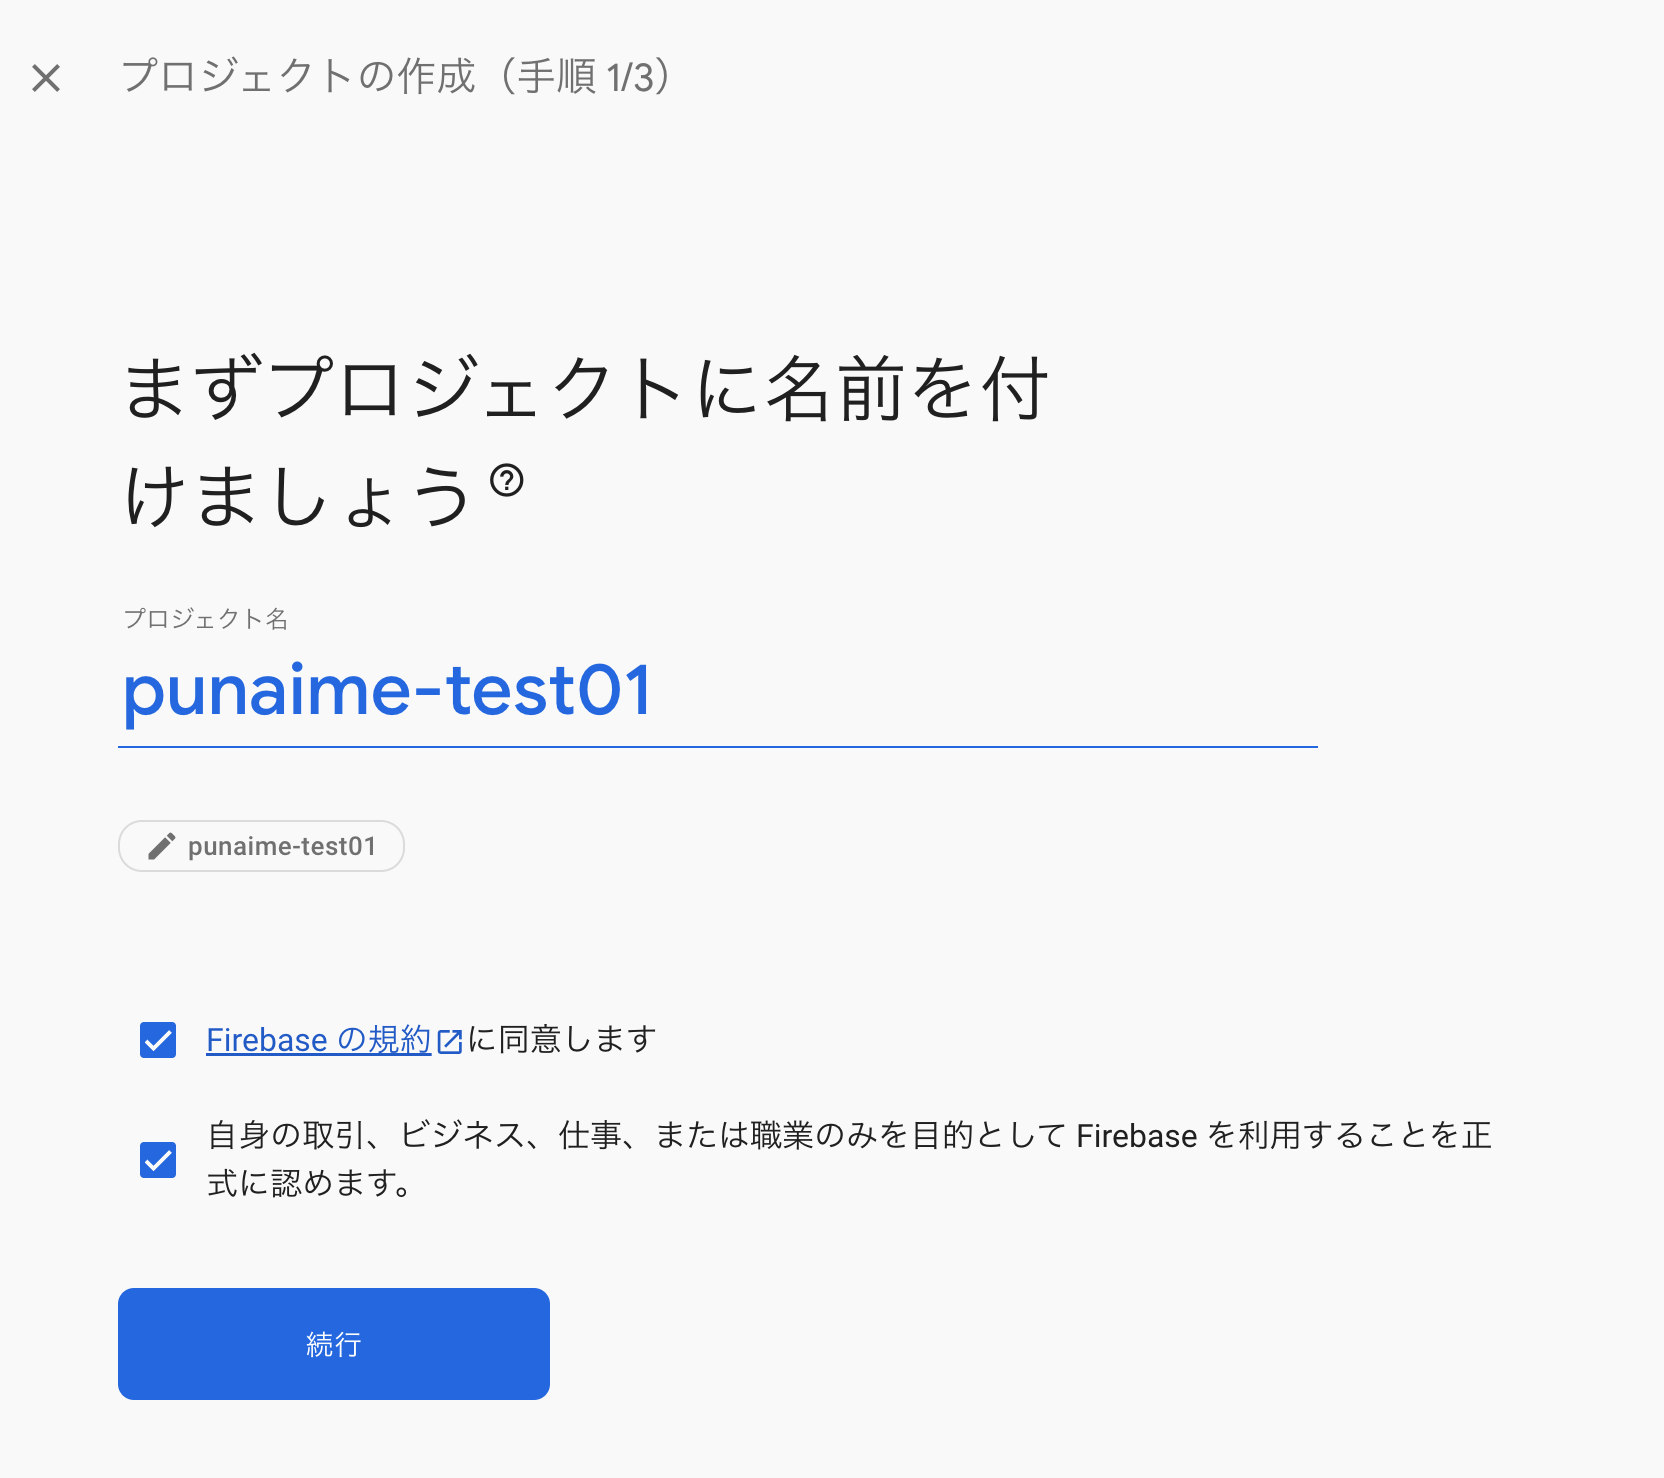
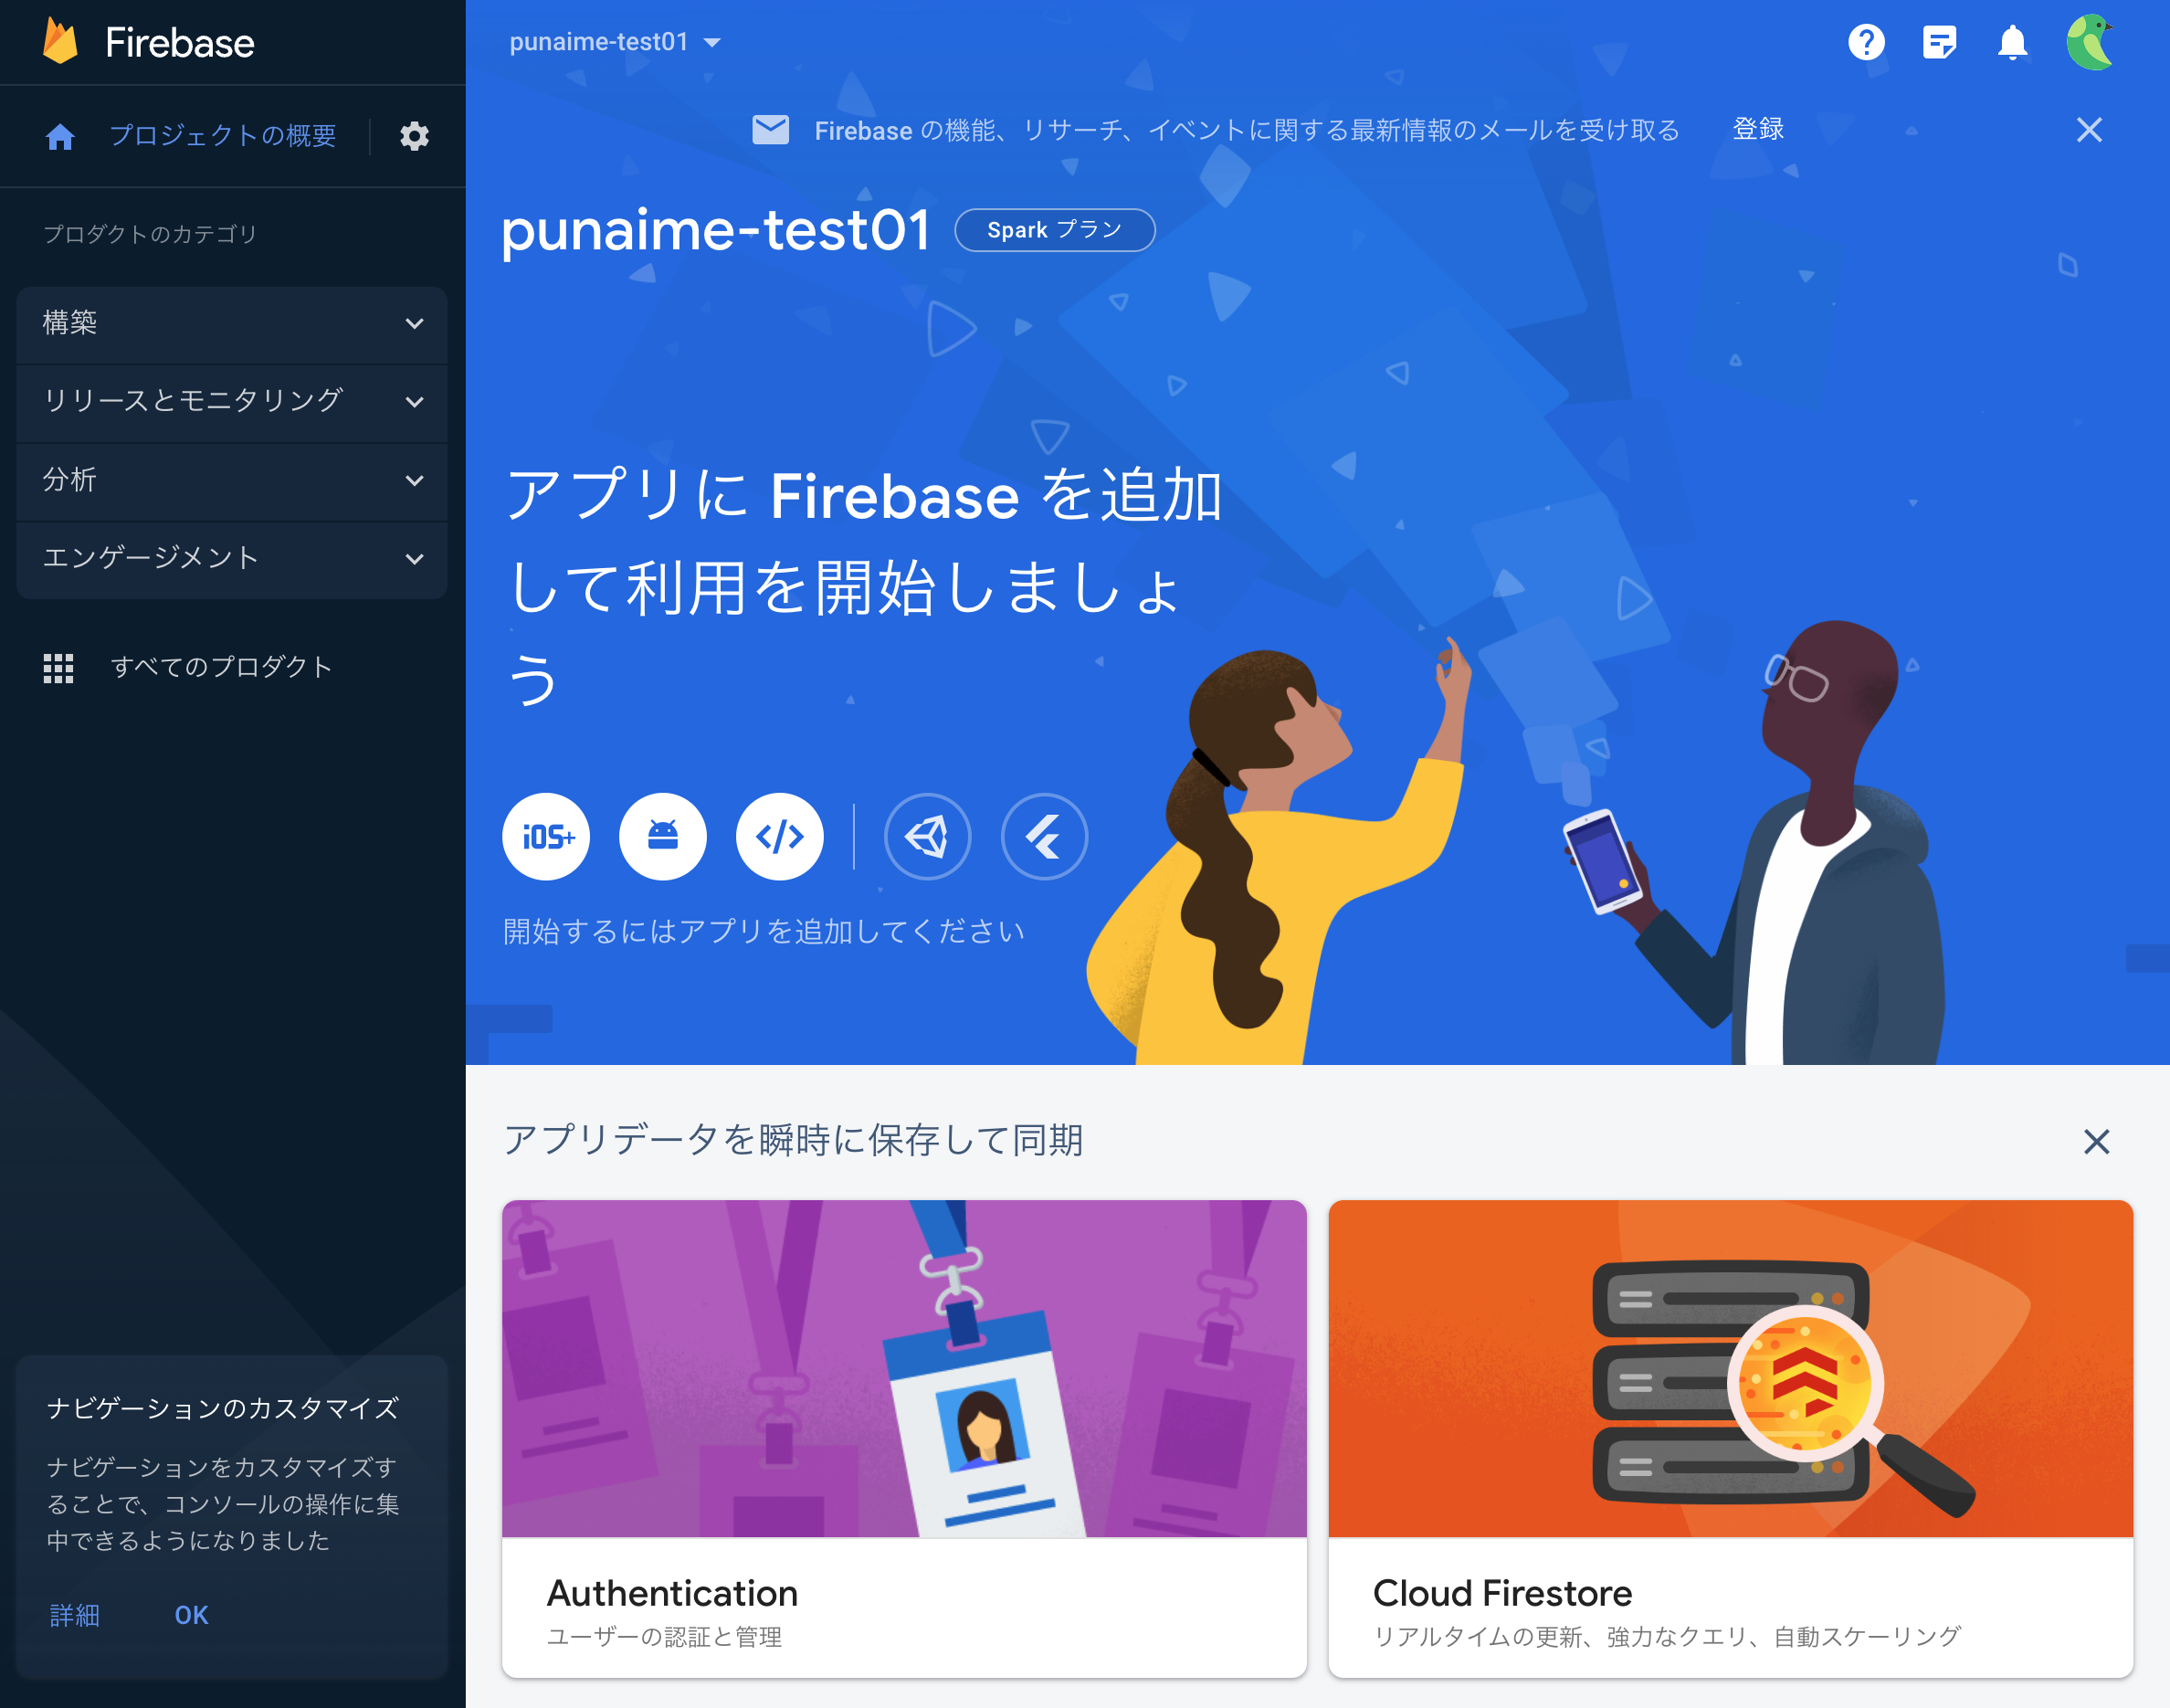
Googleアカウントを利用して、Firebaseにログインを行います。「プロジェクトを作成」を選択して、Flutterアプリから利用するFirebase側のプロジェクトを作成します。

「プロジェクトを作成」選択すると、手順1としてプロジェクトの名前を付けて「続行」を選択します。
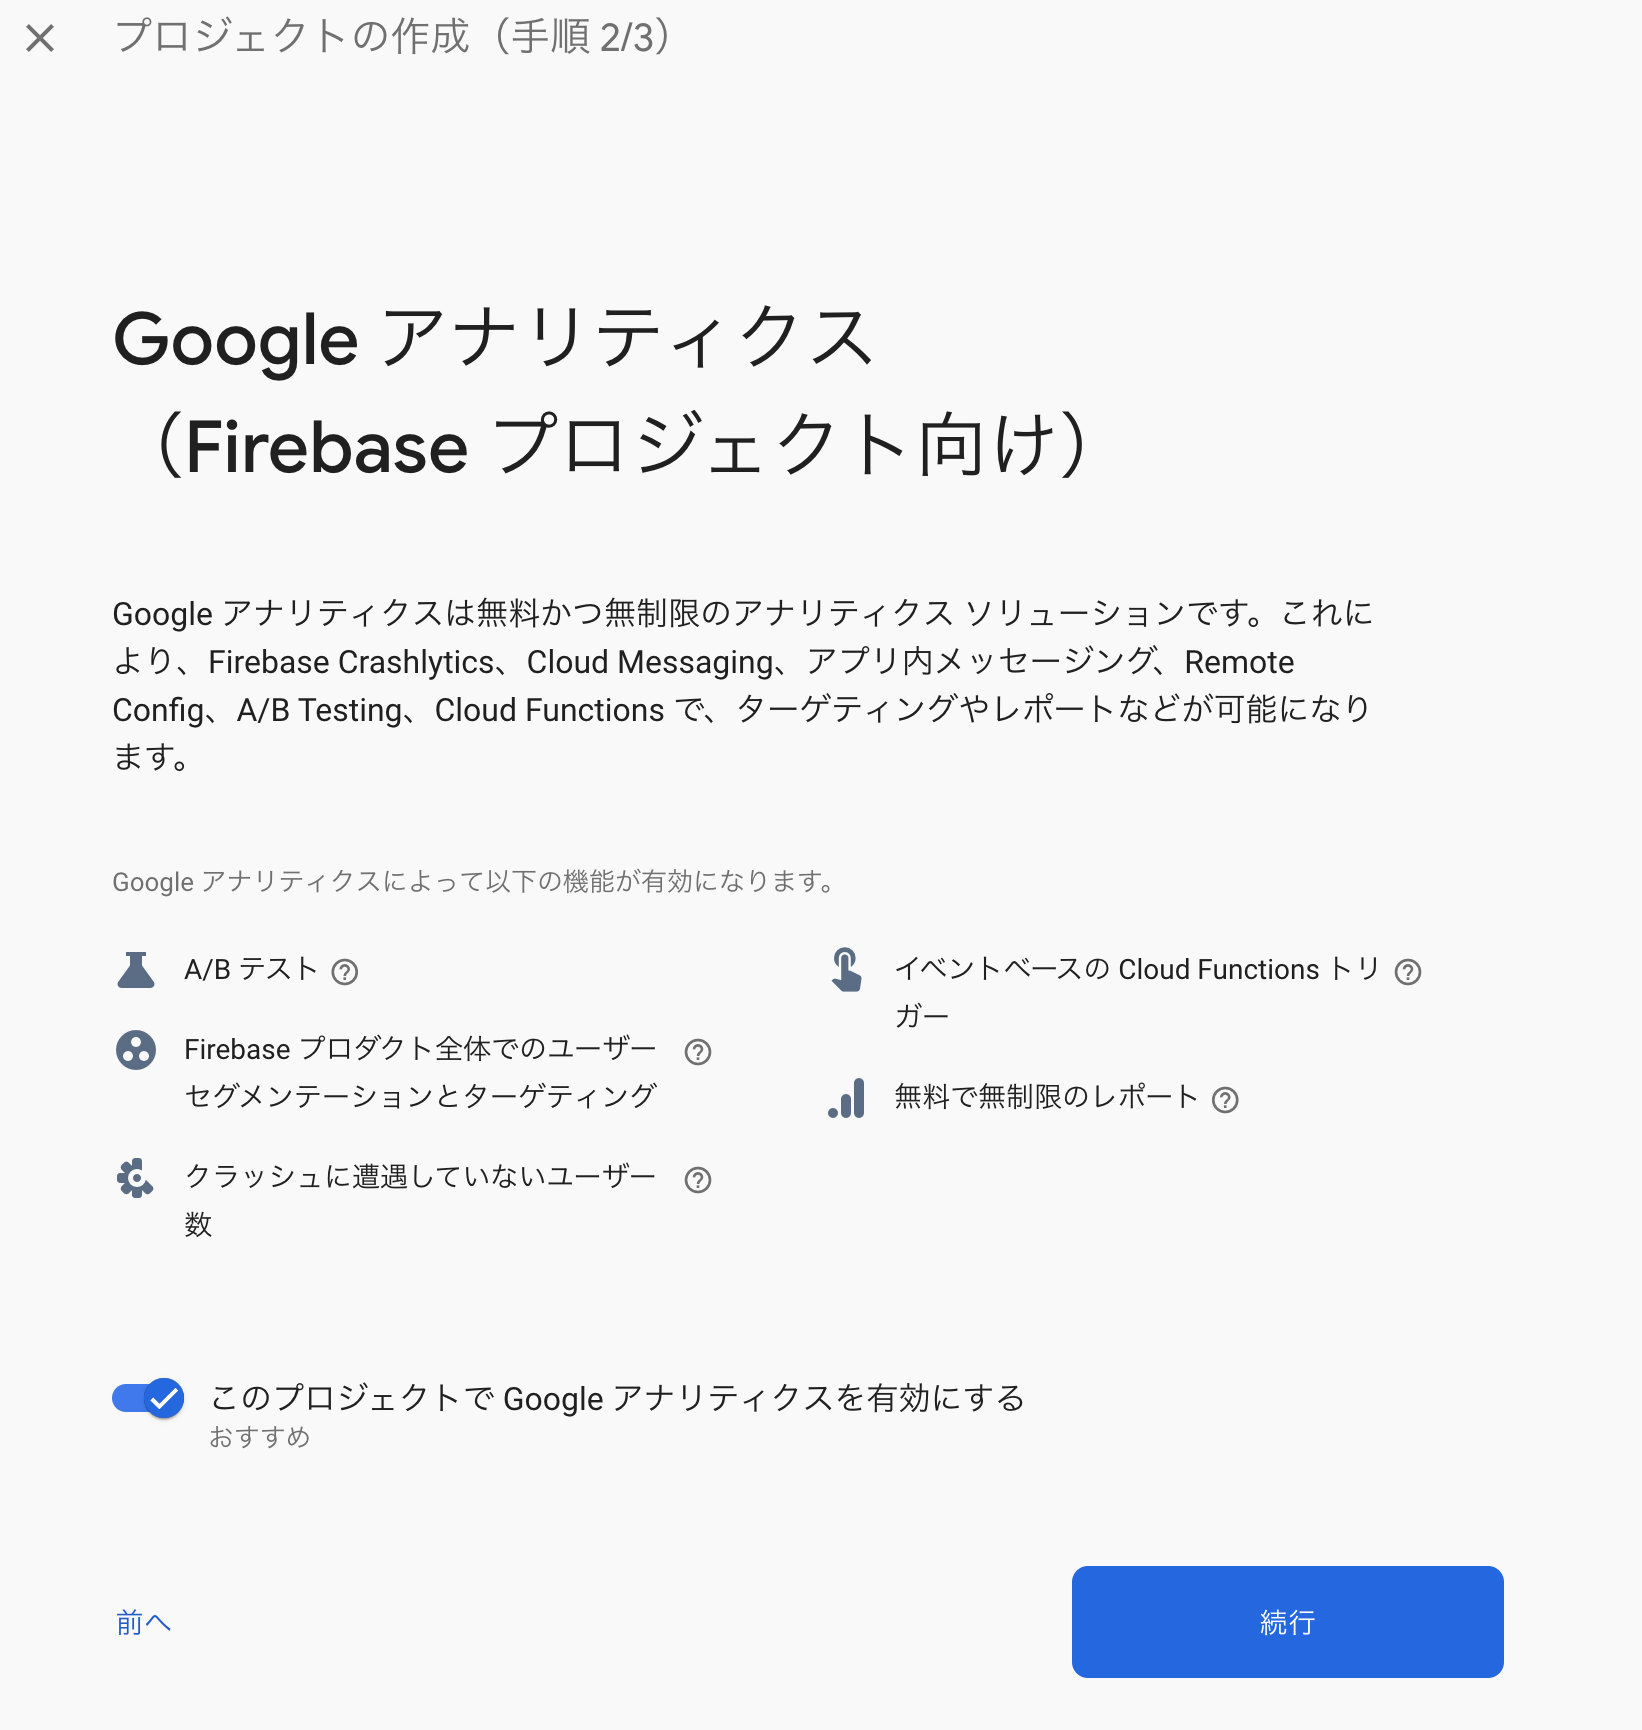
次に手順2として、Googleアナリティクスを利用するか選択できます。特に理由がなければ「有効」で「続行」します。
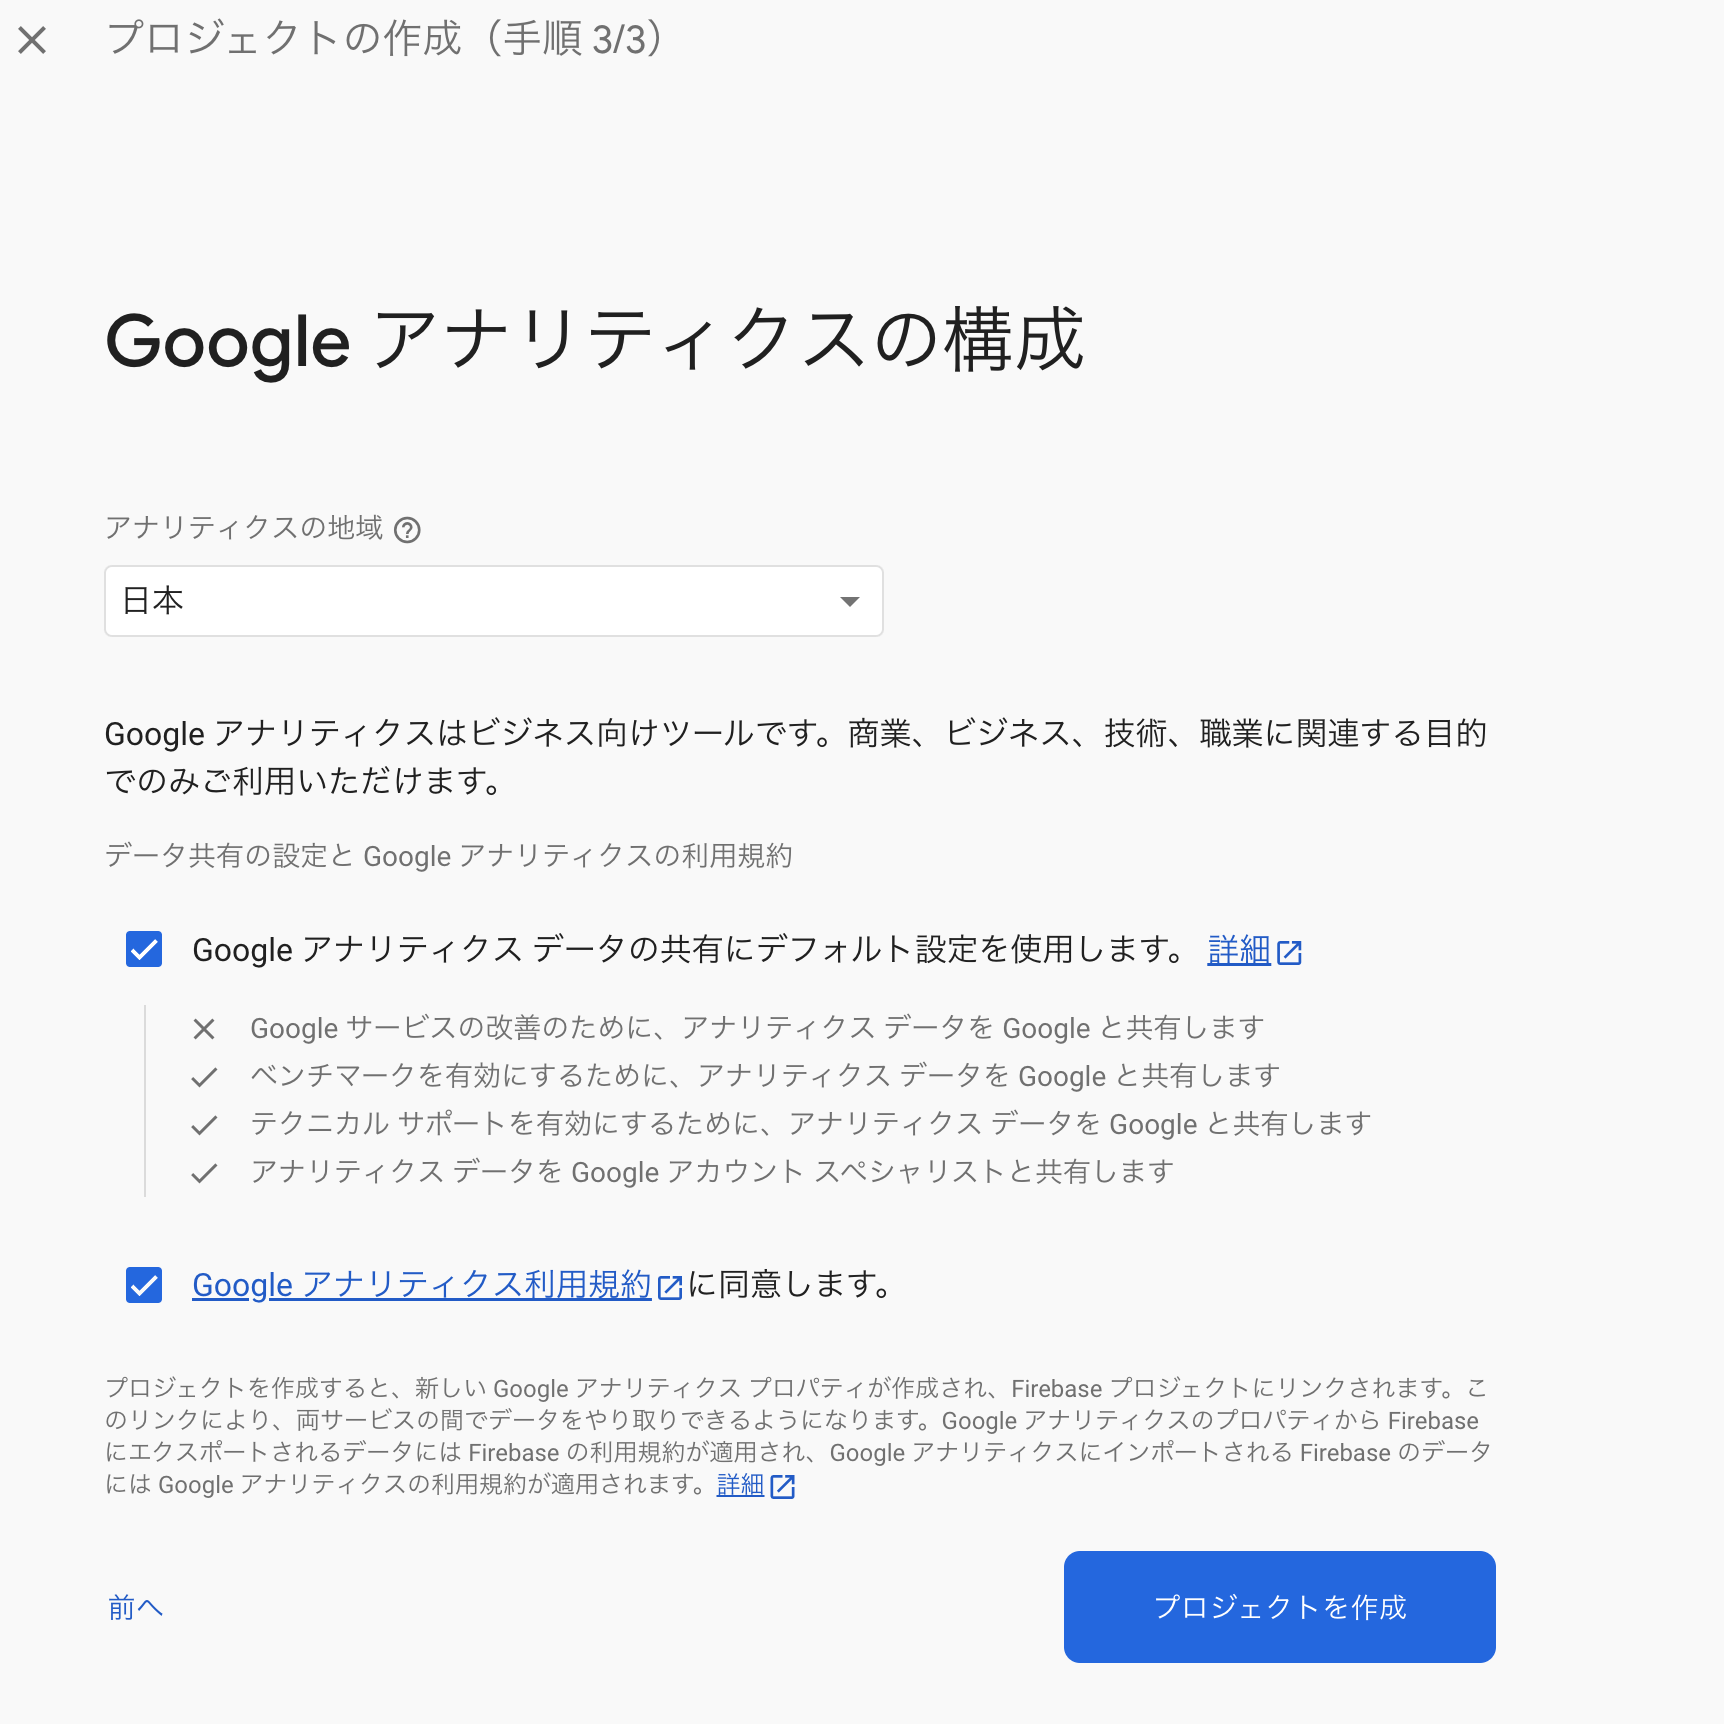
そのまま「プロジェクトの作成」を選択します。
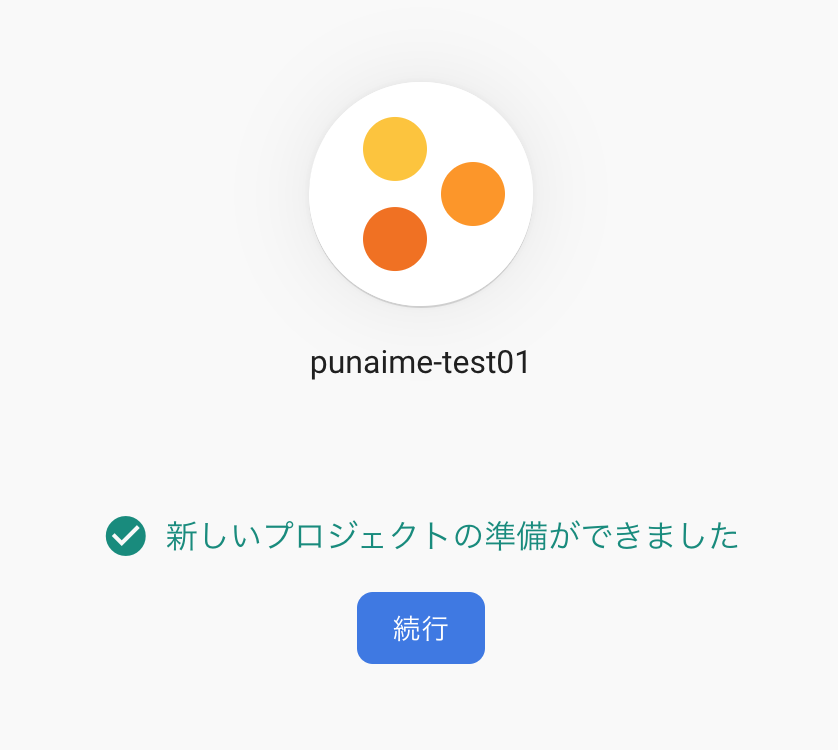
これで新規プロジェクトを作成することができました。
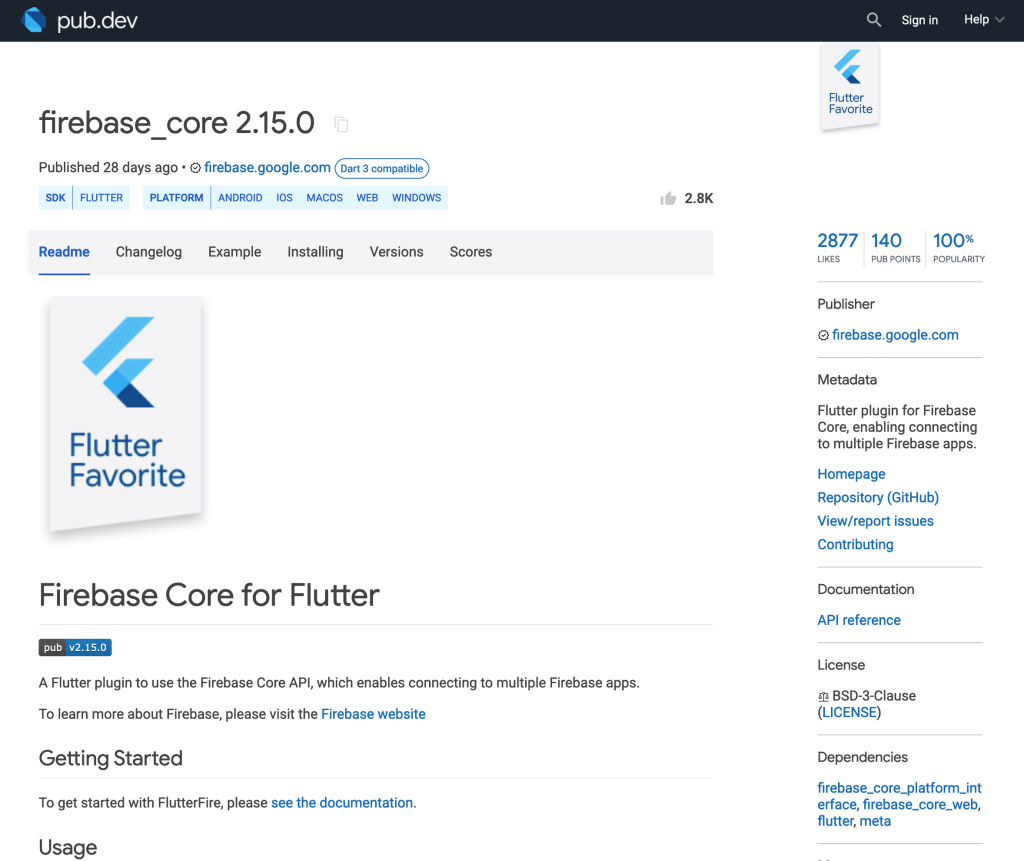
次にFlutter側の設定を行います。アプリのベースは、Flutterデフォルトのカウンターアプリを作成して、Firebaseとやり取りできるように、pub.devからfirebase coreのプラグインをインストールします。
https://pub.dev/packages/firebase_core
Android Studioのターミナルから次のコマンドを実行して、インストールします。
flutter pub add firebase_core% flutter pub add firebase_core
Resolving dependencies...
collection 1.17.1 (1.18.0 available)
+ firebase_core 2.15.0
+ firebase_core_platform_interface 4.8.0
+ firebase_core_web 2.6.0
+ flutter_web_plugins 0.0.0 from sdk flutter
matcher 0.12.15 (0.12.16 available)
material_color_utilities 0.2.0 (0.8.0 available)
+ plugin_platform_interface 2.1.5
source_span 1.9.1 (1.10.0 available)
stack_trace 1.11.0 (1.11.1 available)
stream_channel 2.1.1 (2.1.2 available)
test_api 0.5.1 (0.6.1 available)
Changed 5 dependencies!pubspec.yamlに、firebase_core: ^2.15.0が自動的に追加されました。
dependencies:
  flutter:
    sdk: flutter


  # The following adds the Cupertino Icons font to your application.
  # Use with the CupertinoIcons class for iOS style icons.
  cupertino_icons: ^1.0.2
firebase_core: ^2.15.0 #追加これでfirebase_coreのインストールは完了です。
次にFlutterプロジェクトに、iOS、Androidなどの動作ターゲット別にFirebaseの設定ファイルを自動生成させるFlutterFire CLIをインストールします。ターミナルから次のコマンドを実行します。
dart pub global activate flutterfire_cli次のようなメッセージが流れ設定が行われます。
% dart pub global activate flutterfire_cli
  ╔════════════════════════════════════════════════════════════════════════════╗
  ║ The Dart tool uses Google Analytics to report feature usage statistics     ║
  ║ and to send basic crash reports. This data is used to help improve the     ║
  ║ Dart platform and tools over time.                                         ║
  ║                                                                            ║
  ║ To disable reporting of analytics, run:                                    ║
  ║                                                                            ║
  ║   dart --disable-analytics                                                 ║
  ║                                                                            ║
  ╚════════════════════════════════════════════════════════════════════════════╝

+ ansi_styles 0.3.2+1s... (1.7s)
+ args 2.4.2
+ async 2.11.0
+ boolean_selector 2.1.1
+ characters 1.3.0
+ ci 0.1.0
+ cli_util 0.3.5 (0.4.0 available)
+ clock 1.1.1
+ collection 1.18.0
+ dart_console 1.2.0
+ deep_pick 0.10.0 (1.0.0 available)
+ ffi 2.1.0
+ file 6.1.4 (7.0.0 available)
+ flutterfire_cli 0.2.7
+ http 0.13.6 (1.1.0 available)
+ http_parser 4.0.2
+ interact 2.2.0
+ intl 0.18.1
+ json_annotation 4.8.1
+ matcher 0.12.16
+ meta 1.9.1
+ path 1.8.3
+ petitparser 5.4.0
+ platform 3.1.0
+ process 4.2.4 (5.0.0 available)
+ pub_semver 2.1.4
+ pub_updater 0.2.4 (0.3.1 available)
+ pubspec 2.3.0
+ quiver 3.2.1
+ source_span 1.10.0
+ stack_trace 1.11.1
+ stream_channel 2.1.2
+ string_scanner 1.2.0
+ term_glyph 1.2.1
+ test_api 0.6.1
+ tint 2.0.1
+ typed_data 1.3.2
+ uri 1.0.0
+ win32 5.0.6
+ xml 6.3.0
+ yaml 3.1.2
Building package executables... (1.8s)
Built flutterfire_cli:flutterfire.
Installed executable flutterfire.
Warning: Pub installs executables into $HOME/.pub-cache/bin, which is not on your path.
You can fix that by adding this to your shell's config file (.bashrc, .bash_profile, etc.):

  export PATH="$PATH":"$HOME/.pub-cache/bin"

Activated flutterfire_cli 0.2.7.
kuni@KUNIHIKOnoMacBook-Air firebase %よく見ると、Warningが発生しています。Warningの警告は、実行ファイルへのPATHが設定されていない意味です。インストールした実行ファイルが $HOME/.pub-cache/bin ディレクトリにあるものの、システムの環境変数にPATHが存在していないため、コマンドラインから実行することができないのです。
FlutterFire CLIのコマンドを実行できるように、ホームディレクトリにある.zshrcファイルに下記のPATHを追加します。
export PATH="$PATH":"$HOME/.pub-cache/bin"追加したら、sourceコマンドを実行して.zshrcファイルを再読み込みすれば、実行できるようになります。
source ~/.zshrcこれでFlutterFire CLIのインストールは完了です。
FlutterからFirebase のプロジェクトに接続できるように、設定・初期化を行います。
FlutterFireを利用して、flutterfireコマンドのconfigureを実行します。flutterfire configureは、FlutterからFirebase に接続を設定して初期化を処理を行います。
flutterfire configure実行してみるとエラーが表示されました。
% flutterfire configure
i Found 0 Firebase projects.
FirebaseCommandException: An error occured on the Firebase CLI when attempting to run a command.
COMMAND: firebase --version
ERROR: The FlutterFire CLI currently requires the official Firebase CLI to also be installed, see https://firebase.google.com/docs/cli#install_the_firebase_cli for how to install it.このエラーメッセージは、flutterfire configure コマンドを実行しようとした際にFirebase CLIがインストールされていないことを示しています。FlutterFire CLIがFirebaseプロジェクトを構成するためにFirebase CLIを必要としているため、このエラーが発生しています。そこでFirebase CLIをインストールします。
Firebase CLIは、Firebaseプロジェクトをローカル開発環境で管理、デプロイ、テストするためのツールセットです。このCLIを使用すると、コマンドラインからFirebaseプロジェクトに関連する多くの操作を実行できます。そして今回は、FlutterFire CLIがFirebase CLIに依存しているためインストールを行います。
インストール方法はいくつかありますがここでは下記の自動インストール スクリプトを利用します。
curl -sL https://firebase.tools | bash% curl -sL https://firebase.tools | bash
Password:
-- Checking for existing firebase-tools on PATH...
-- Checking your machine type...
-- Downloading binary from https://firebase.tools/bin/macos/latest
######################################################################## 100.0%#=#=# ######################################################################## 100.0%
-- Setting permissions on binary...
-- Checking your PATH variable...
-- firebase-tools@12.4.7 is now installed
-- All Done!インストールできたらFirebase CLIが正常に動作するかfirebaseのバージョン名を表示してみます。
% firebase --version
12.4.7もう一度、flutterfire configureを実行します。
flutterfire configure% flutterfire configure
i Found 0 Firebase projects.
FirebaseCommandException: An error occured on the Firebase CLI when attempting to run a command.
COMMAND: firebase projects:list --json
ERROR: Failed to authenticate, have you run firebase login?またエラーで止まりましたが、これはFirebaseにログインできていないため、プロジェクトが見つからないエラーです。以下のコマンでログインを行います。
firebase loginfirebase login
i Firebase optionally collects CLI and Emulator Suite usage and error reporting information to help improve our products. Data is collected in accordance with Google's privacy policy (https://policies.google.com/privacy) and is not used to identify you.
? Allow Firebase to collect CLI and Emulator Suite usage and error reporting information? Yes
i To change your data collection preference at any time, run `firebase logout` and log in again.
Visit this URL on this device to log in:
https://accounts.google.com/o/oauth2/auth?client_id=(省略)
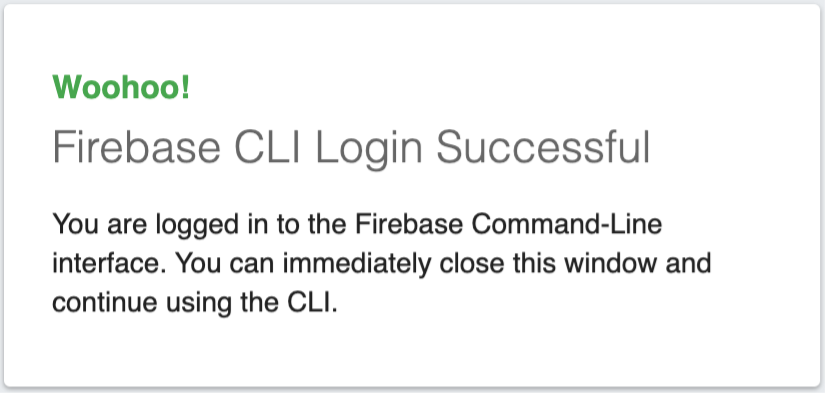
Waiting for authentication...ブラウザが起動して、Googleアカウントにログインすることができます。


完了すると、ログイン成功のメッセージがブラウザに表示されます。
Waiting for authentication...

✔ Success! Logged in as (省略)@gmail.comもう一度、flutterfire configureを実行すると、Firebaseのプロジェクトが一覧されます。作成した「punaime-test01」が表示されます。
% flutterfire configure
i Found 1 Firebase projects.
? Select a Firebase project to configure your Flutter application with ›
❯ punaime-test01 (punaime-test01)
  <create a new project>
プロジェクトが1つのため、そのままエンターキーで「punaime-test01」を選択して処理を進めると、android、iosなど、どのプラットフォーム向けに設定しますか?と聞かれます。上下の矢印キーと、スペースでオンオフを設定することができます。ここでは、そのままエンターキーで全てにチェックが入った状態で進めます。
✔ Select a Firebase project to configure your Flutter application with · punaime-test01 (punaime-test01)
? Which platforms should your configuration support (use arrow keys & space to select)? ›
✔ android
✔ ios
✔ macos
✔ web
✔ Success! Logged in as (省略)@gmail.com
punaime@mac sample_firebase % flutterfire configure
i Found 1 Firebase projects.
✔ Select a Firebase project to configure your Flutter application with · punaime-test01 (punaime-test01)
✔ Which platforms should your configuration support (use arrow keys & space to select)? · ios, macos, web, android
i Firebase android app com.example.sample_firebase is not registered on Firebase project punaime-test01.
i Registered a new Firebase android app on Firebase project punaime-test01.
i Firebase ios app com.example.sampleFirebase is not registered on Firebase project punaime-test01.
i Registered a new Firebase ios app on Firebase project punaime-test01.
i Firebase macos app com.example.sampleFirebase.RunnerTests is not registered on Firebase project punaime-test01.
i Registered a new Firebase macos app on Firebase project punaime-test01.
i Firebase web app sample_firebase (web) registered.
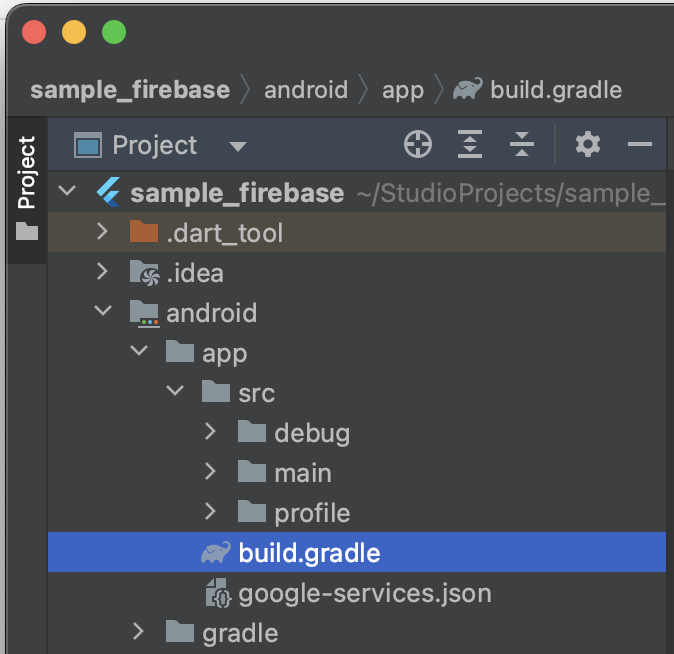
✔ The files android/build.gradle & android/app/build.gradle will be updated to apply Firebase configuration and gradle build plugins. Do you want to continue? · yes
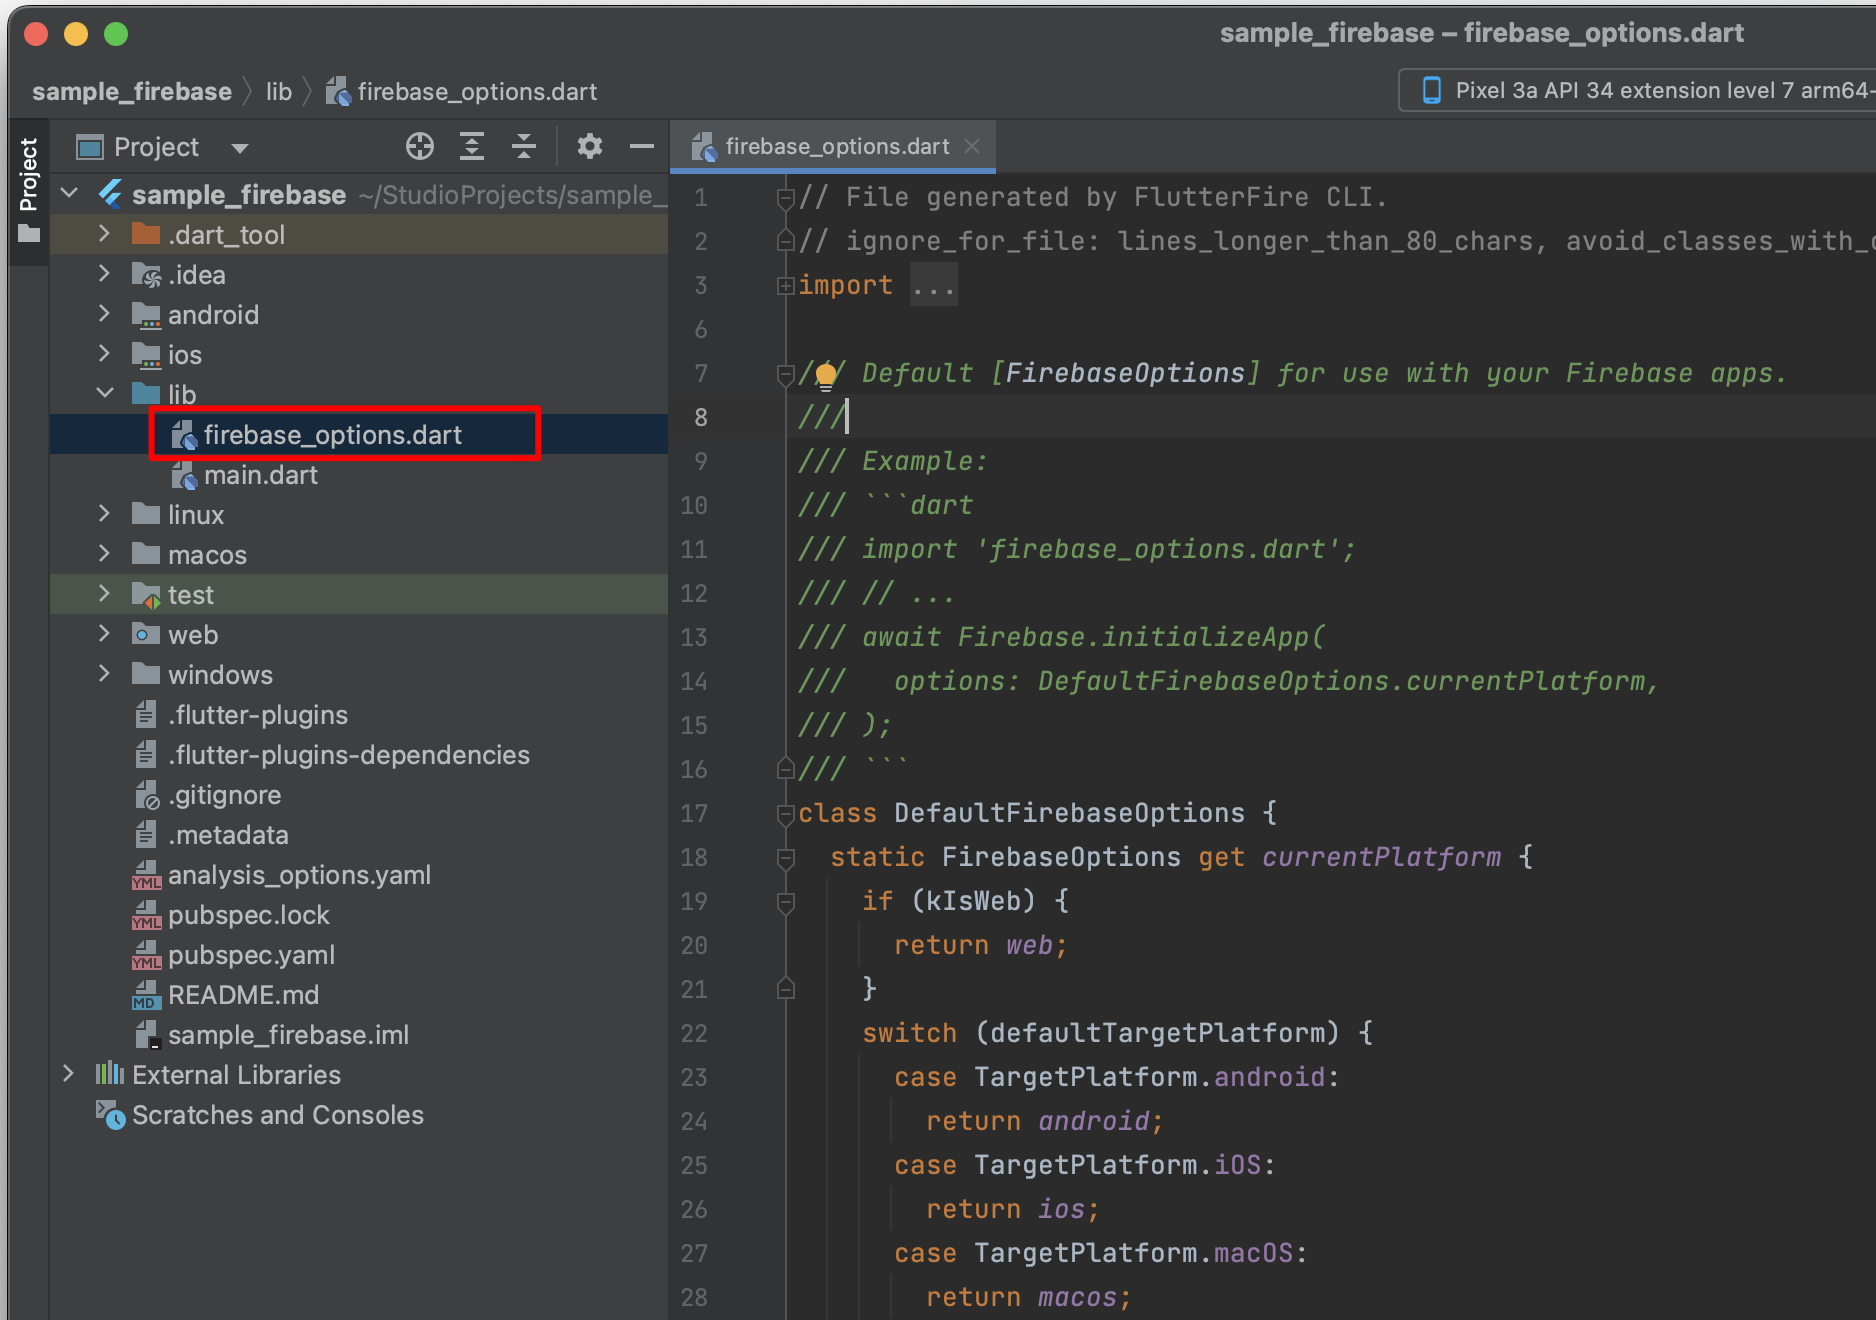
Firebase configuration file lib/firebase_options.dart generated successfully with the following Firebase apps:
Platform Firebase App Id
web 1:58048675245:web:a47dd580(省略)
android 1:58048675245:android:d2aa(省略)
ios 1:58048675245:ios:bf046df2(省略)
macos 1:58048675245:ios:ce63d5bf(省略)
Learn more about using this file and next steps from the documentation:
> https://firebase.google.com/docs/flutter/setup
punaime@mac sample_firebase %
処理が終わると、libディレクトリにfirebase_options.dartファイルが追加されます。このファイルが、Flutterとfirebaseを接続するときに、iOS、Androidなどターゲット別に処理を分けてくれます
最後にFlutterプロジェクト側の設定を行います。Firebaseに接続するためのdartコードの修正、Androidの動作環境を6.0以上にするためにminSdkVersionの修正、そしてビルド時のバージョン依存の修正を行います。
一通りのインストールの準備が整いましたので、lib/main.dart ファイルにFirebaseに接続するための下記のコードを追加・修正を行います。
import文を追加
import 'package:firebase_core/firebase_core.dart';
import 'firebase_options.dart';
main()メソッドの記述を変更
(変更前)
void main() {
  runApp(const MyApp());
}

(変更後)
void main() async {
  WidgetsFlutterBinding.ensureInitialized();
  await Firebase.initializeApp(
    options: DefaultFirebaseOptions.currentPlatform,
  );
  runApp(MyApp());
}DefaultFirebaseOptionsは、現在実行中(currentPlatform)のOSを識別して、firebaseOptions.dartからOS別に記載された設定ファイルを読み込んでいます。
Android OSの対象バージョンを6.0以上にするために、build.gradleファイルを修正します。
/android/app/src/build.grdle
    defaultConfig {
        applicationId "com.example.sample_firebase"
        minSdkVersion 23
        targetSdkVersion flutter.targetSdkVersion
        versionCode flutterVersionCode.toInteger()
        versionName flutterVersionName
}ここで、ターゲットをAndroidにしてビルドを実行すると下記のようなエラーとなります。
FAILURE: Build failed with an exception.

* What went wrong:
Execution failed for task ':app:mapDebugSourceSetPaths'.
> Error while evaluating property 'extraGeneratedResDir' of task ':app:mapDebugSourceSetPaths'
   > Failed to calculate the value of task ':app:mapDebugSourceSetPaths' property 'extraGeneratedResDir'.
      > Querying the mapped value of provider(java.util.Set) before task ':app:processDebugGoogleServices' has completed is not supported

* Try:
> Run with --stacktrace option to get the stack trace.
> Run with --info or --debug option to get more log output.
> Run with --scan to get full insights.

* Get more help at https://help.gradle.org

BUILD FAILED in 1m 23s
Exception: Gradle task assembleDebug failed with exit code 1これは依存関係の問題で、com.google.gms:google-servicesのバージョンを4.3.10から4.3.14に変更します。
/android/build.grdle
(変更前)
dependencies {
classpath 'com.android.tools.build:gradle:7.3.0'
// START: FlutterFire Configuration
classpath 'com.google.gms:google-services:4.3.10'
// END: FlutterFire Configuration
classpath "org.jetbrains.kotlin:kotlin-gradle-plugin:$kotlin_version"
}
(変更後)
dependencies {
classpath 'com.android.tools.build:gradle:7.3.0'
// START: FlutterFire Configuration
classpath 'com.google.gms:google-services:4.3.14'
// END: FlutterFire Configuration
classpath "org.jetbrains.kotlin:kotlin-gradle-plugin:$kotlin_version"
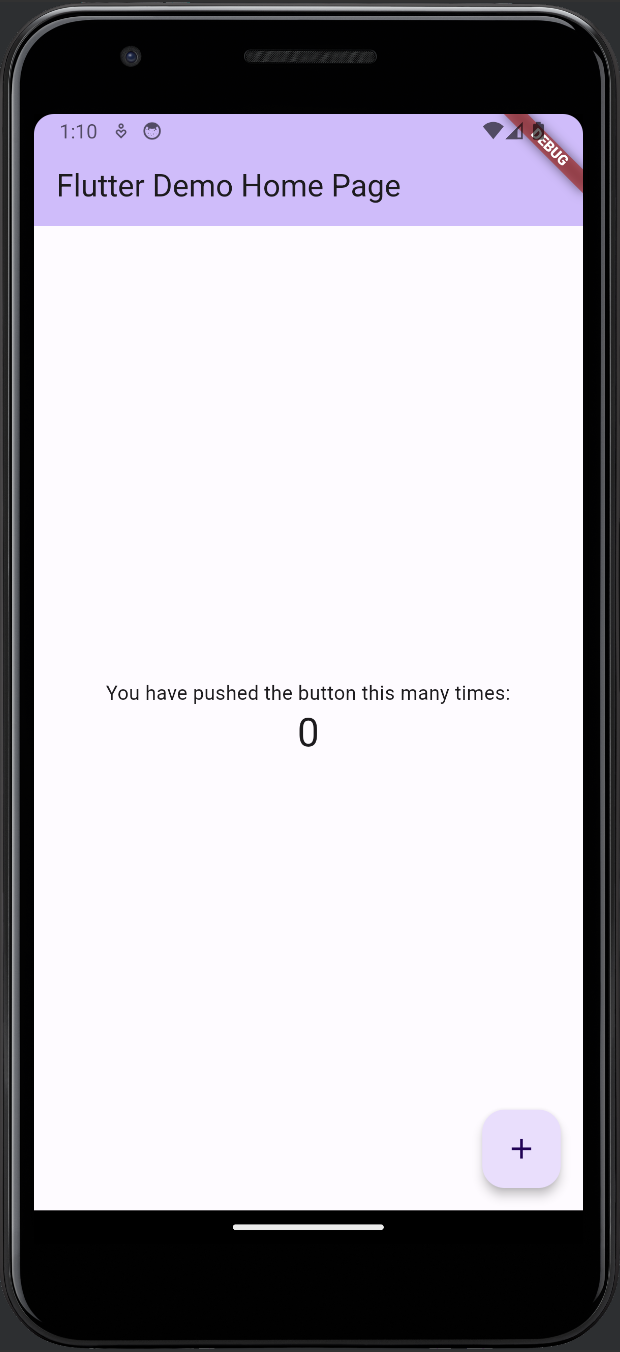
}再度ビルドを実行するとエラーなく起動することができました。見栄えは変わりませんがFirebaseに接続できる準備は完了しました。同様に、iOS向けのビルドも同じように起動できます。
初期設定は以上となります。